 |
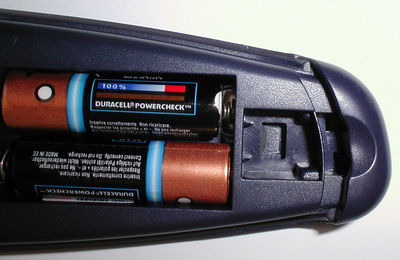
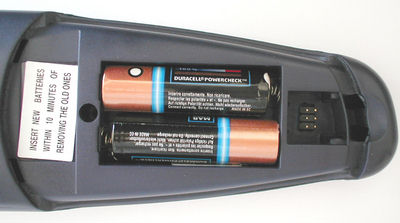
There are at least two variations of the Sky Digital remote control. Some versions have spaces on the circuit board for a 6 pin header and some don't. Remove the battery cover and look at the bottom of the remote control. If you can see a PCB with 6 holes, yours also has the space on the PCB for the EEPROM and won't need an extra board. This remote pictured is an RC1600/00 model which doesn't, but it's pretty easy to add. Importantly, the case already has a space for the 6 pin connector. |
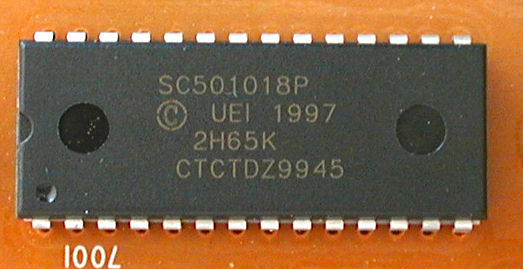 |
Opening up the case reveals this type of IC, although other remotes may have a different but compatible device. |
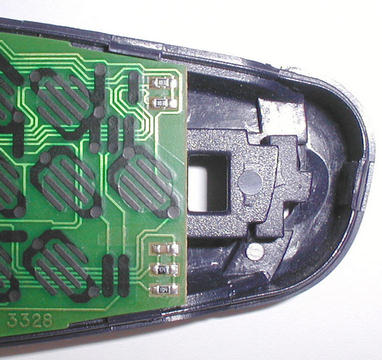 |
Here is the space where the EEPROM and JP1 connector will go. As you can see, there's plenty of room. |
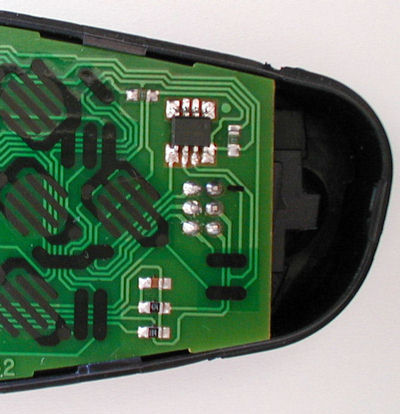 |
This is a remote control that had space for the EEPROM and JP1 connector provided on the main PCB. Notice there are two resistors near the top of the photo and a capacitor and two resistors near the bottom... |
 |
...and here is a close up of our remote we want to add JP1 to. Notice the similarities with the resistors and capacitors. |
 |
A quick study of both circuits results in the following schematics. The lefthand circuit shows how the JP1 connector, EEPROM and components are connected to pins 19 and 20 of the remote IC on the PCB that has spaces for them. The righthand circuit shows how we can connect up the 6 pin header and EEPROM to add JP1 functionality on the PCB that doesn't. |
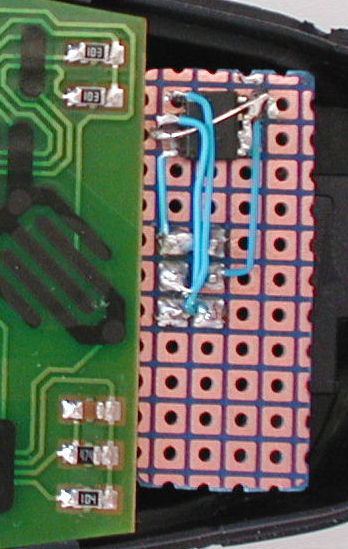 |
I wired up the 6 pin connector and 24AA16 EEPROM on a bit of patchboard cut to size so it fits neatly in the Sky remote case. As the EEPROM I used was a surface mount part, the pitch of the PCB squares was wrong. Carefully bend up pins 6 and 7 so they clear the PCB - you can then solder the wires directly to them. |
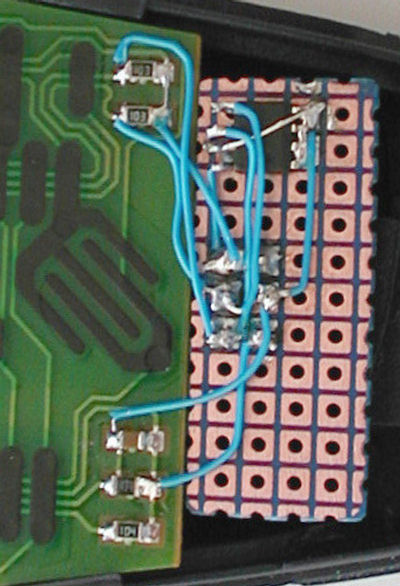 |
Here is the PCB wired up to the remote control. |
 |
All done, with the remote all put back together.
It's time to see if the remote recognises the new EEPROM. This process will reinitialise the remote control and lose any settings you currently have. Press the TV button and then press the SELECT and RED buttons together until the red LED flashes twice. Now press 9 8 1 to reset the remote. If the upgrade is successful, the LED will flash four times. If the upgrade is unsuccessful, the LED will flash two short and one longer flash. Time to recheck your soldering... |